How do beginners carve wood? This delightful craft has enticed many with its promise of creativity and the satisfaction that comes from transforming a simple block of wood into a beautiful piece of art. Whether you’re looking to create gifts, home decor, or simply unwind with a fulfilling hobby, wood carving can be a rewarding journey. Let’s walk through the essentials together so you can get started on your wood carving adventure.
Understanding the Basics of Wood Carving
Before you pick up your carving tools, it’s essential to understand what wood carving involves. At its core, wood carving is the art of shaping wood into decorative or functional items, ranging from sculptures to utensils.
Types of Wood Used for Carving
Not all wood is created equal when it comes to carving. Different types of wood can influence the complexity of your projects and the ease of carving. Here are some popular choices:
| Wood Type | Characteristics | Best For |
|---|---|---|
| Basswood | Soft, lightweight, easy to carve | Beginners, intricate designs |
| Butternut | Medium hardness, pleasant aroma | Whittling, detail work |
| Pine | Easy to carve but can be knotty | Simple projects, basic shapes |
| Oak | Very hard, requires strength and skill | Advanced projects, furniture |
| Mahogany | Durable and smooth | Detailed work, fine finishes |
As a beginner, you might want to start with softwoods like basswood, which is forgiving and allows you to learn carving techniques without too much frustration.
Essential Tools for Beginners
Having the right tools at your disposal can greatly enhance your wood carving experience. Here’s a breakdown of essential tools every beginner should consider:
Knife
A carving knife is your primary tool. It’s important to choose one with a comfortable handle and a sharp blade, as this will make it easier for you to make precise cuts without undue strain.
Gouges
Gouges are curved tools that allow for more intricate cuts. As you become more proficient, investing in a few different sizes will open up various design possibilities.
Chisels
Chisels are excellent for making straight cuts and wider grooves. They come in various sizes and shapes, which will help you achieve different textures and depths in your work.
Safety Gear
Protection is key when you’re carving. Always wear a glove on your non-dominant hand to reduce the risk of injury, and consider safety glasses to shield your eyes from wood shavings.

Preparing to Carve
Before you begin carving, there are some preparation steps you should take. These steps will ensure you have everything you need to work effectively.
Choose Your Project
Choosing a project that matches your skill level is crucial. It’s advisable to start with something simple, like a spoon or a small figure. This allows you to focus on basic techniques without feeling overwhelmed.
Sketch Your Design
While some may prefer to carve freehand, sketching your design helps you visualize what you want to achieve. You can draw your design directly onto the wood or on a separate piece of paper, which can help you stay on track as you carve.
Secure Your Wood
Using a clamp or a vise to secure your wood is vital for safety and precision. A steady piece of wood will allow you to focus on your technique without worrying about it shifting during the carving process.
Basic Wood Carving Techniques
With preparation out of the way, it’s time to get into the fun part—starting to carve! Here are some basic techniques that every beginner should practice.
Whittling
Whittling is a fundamental technique that involves shaving off thin slices of wood. It’s a gentle method, making it perfect for beginners. When whittling, remember to always carve away from your body to avoid accidents.
Chip Carving
This technique focuses on removing small chips from the surface of the wood to create patterns or relief designs. Chip carving requires precision, so take your time and use a sharp tool to get the best results.
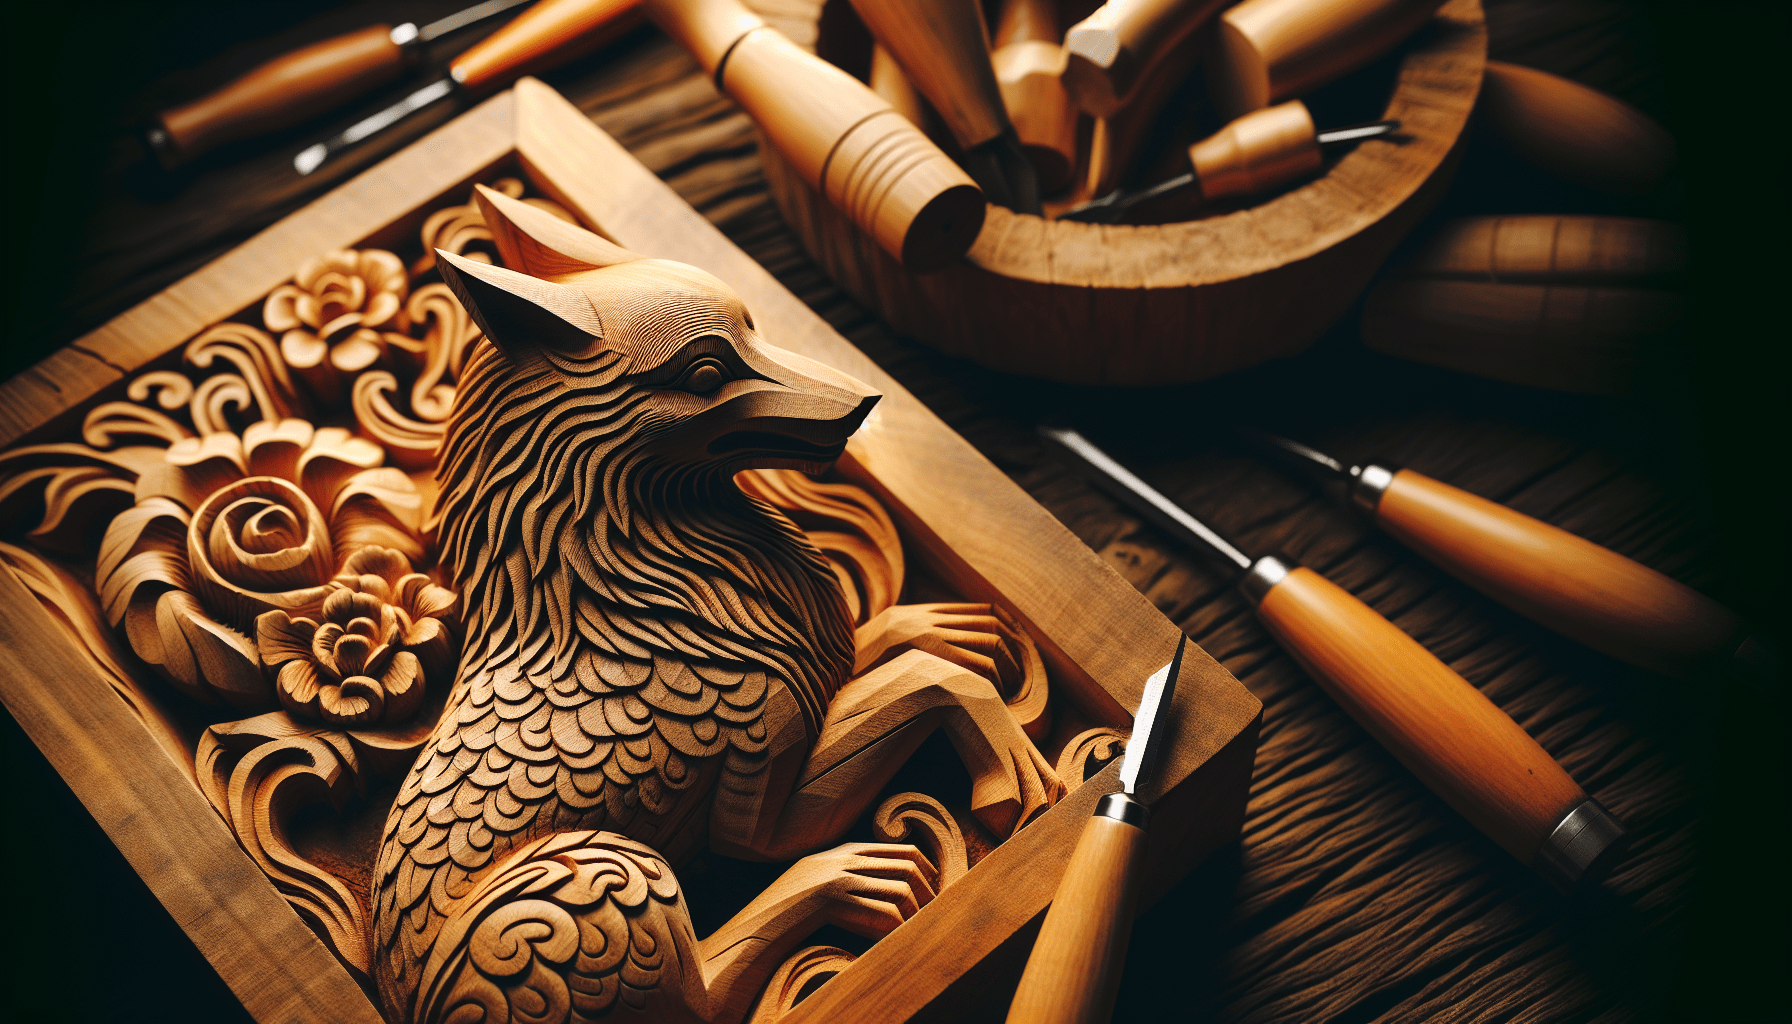
Relief Carving
Relief carving involves carving into flat wood to create a three-dimensional image that stands out from the surface. This technique is a great way to learn about depth and texture.
Power Carving
As you gain confidence, you might explore power carving tools like rotary tools or dremels. These can speed up the process and assist in achieving intricate designs, though they come with a steeper learning curve.

Practice Makes Perfect
The key to becoming skilled in wood carving is practice. Allow yourself the freedom to experiment and make mistakes. Each carving session is an opportunity to improve your technique and develop your unique style.
Start with Simple Shapes
Begin by carving basic shapes such as a simple geometric object or a small, recognizable figure. Practicing on these shapes will help you become familiar with how different tools interact with the wood.
Set Regular Goals
Setting small, achievable goals can keep you motivated. Perhaps aim to carve for a few minutes each day or finish a simple project each week. Documenting your progress can also be incredibly rewarding.
Join a Community
Consider joining online forums or local wood carving clubs to connect with fellow enthusiasts. Sharing your experiences and learning from others can enhance your knowledge and keep you inspired.
Finishing Your Carving
Once you’ve completed your carving, it’s vital to finish your piece correctly. This not only enhances its appearance but also protects it from wear and tear.
Sanding
Sanding your project will smooth out any rough edges, making it more comfortable to hold and visually appealing. Start with a coarser grit and work your way up to a finer grit for a polished look.
Wood Finish
Applying a wood finish can protect your carving from moisture and stains. There are various types of finishes like oils, varnishes, and wax. Choose one that suits the final look you desire for your piece.
Cleaning Up
Always clean your tools and workspace after carving. This habit helps prolong the life of your tools and creates a pleasant work area for your upcoming projects.
Advanced Techniques and Projects
As you grow more confident in your carving skills, you might want to branch out and explore advanced techniques and project ideas.
Carving More Complex Designs
Consider trying your hand at more complex designs, such as intricate figures or functional items like bowls or utensils. Advanced techniques often involve combining several basic techniques to achieve a final product.
Personalized Gifts
Hand-carved gifts lend a personal touch that store-bought items simply can’t match. Whether it’s a wooden figure for a friend’s birthday or a personalized ornament for a holiday, your creations will be cherished.
Sculpture Carving
Sculpture carving allows you to express your artistic side. Whether using a single block of wood or combining several pieces, the possibilities are virtually endless.
Relief Sculptures
Consider creating relief sculptures that incorporate multiple elements. This technique blends your understanding of depth and design into a single piece of art.
Common Mistakes to Avoid
Like any craft, wood carving has its pitfalls. Being aware of common mistakes can help you sidestep them.
Rushing the Process
Patience is vital in wood carving. Rushing through your work can lead to mistakes, frustration, and even injuries. Create a comfortable pace for yourself that allows you to focus.
Ignoring Safety Protocols
Always prioritize safety. Not wearing protective gear or not securing your wood can lead to accidents. Make a habit of following safety protocols to ensure a safe and enjoyable carving experience.
Skipping the Design Phase
Some beginners dive straight into carving without having a plan. Taking the time to sketch out your design ensures you have a clear idea of your end goal and can make the process smoother.
Maintaining Your Tools
Caring for your tools is essential for ensuring they remain in good working condition. Here’s how you can maintain your carving tools:
Sharpening
Keep your tools sharp; dull tools can lead to accidents and poor-quality work. Invest in a good sharpening kit and learn how to properly sharpen your knives and gouges.
Cleaning
After each carving session, clean your tools to remove sap, wood shavings, and grime. A clean tool not only works better but also lasts longer.
Storage
Store your tools in a dry place, away from moisture. Consider using a tool roll or box to protect the edges and keep everything organized.
Conclusion: Your Wood Carving Journey Begins
Now that you have a solid understanding of the basics of wood carving, the best thing you can do is start practicing! Remember, every expert was once a beginner, and your journey in wood carving will be filled with lessons, creativity, and joy. Take your time, enjoy the process, and let your artistic expression shine through your wood creations. Happy carving!